1. Go to AutoCount HRMS and key in the Email and Password accordingly and click on ‘Log In’.

2. Upon logging into HRMS, user will be directed in the ‘Services’ page. From here, click on the desired company to access into the company

3. Once user is in the company, click on ‘Reports’

4. Select the desired report to customize and click on the edit icon next to the report name to edit the report.

5. Another method is to first click on ‘Preview’ to preview the report.

6. Then click on the edit icon next to the printer icon to edit the report design.

7. The page will then be in designer mode for user to customize the report.

8. Click on ‘Appearance’ on the left side of the panel.

9. Then click on ‘Watermark’

10. Click on the three dots ‘…’ on ‘Image Source’.

11. Click on the image that you would like to upload as the watermark of the report and click ‘Open’

12. Then click on the three line at the top left corner of the screen to open up the menu.

13. Click ‘Save As’ and key in a unique name and save the report.


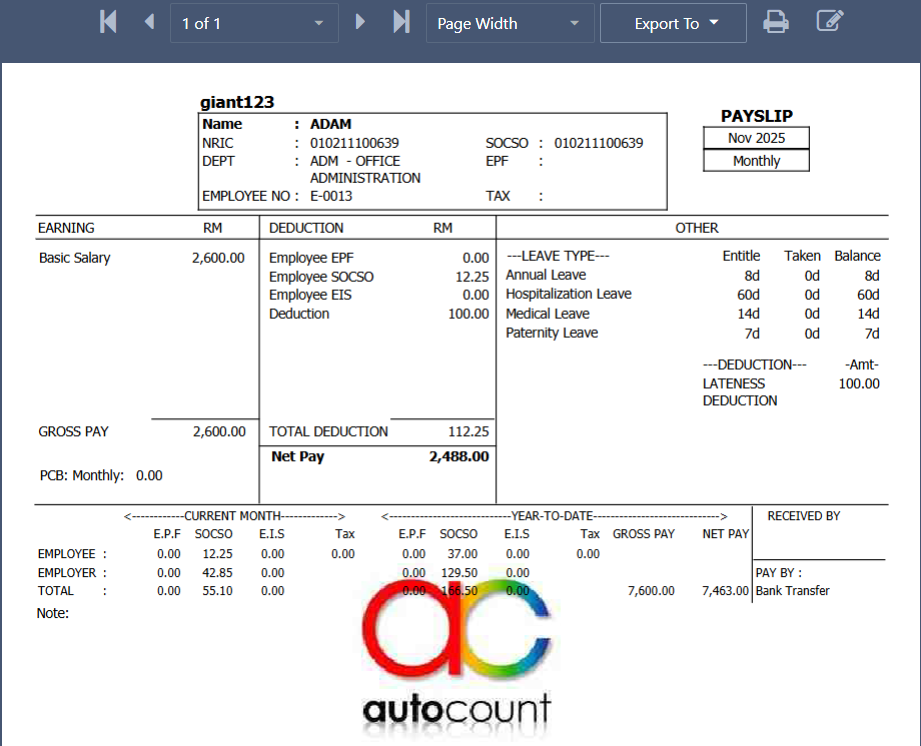
14. Go back to the main page and click on the main report template that you just designed and click on ‘Preview’.

15. Select the payslip report that you just customized and click on ‘Preview’ to preview the report.