The Notification Settings feature allows users to configure and manage reminder notifications for various HR and payroll activities. The following notification methods are available:
App – Receive notifications through push notifications in the AutoCount HRMS mobile application.
Email – Receive notifications via the employee's registered email address.
Web – Receive notifications while logged in to the system. Notifications are displayed on the Dashboard and under the Notification Bell icon.
Steps to Maintain Notification Settings:
Go to Tools > Notification Settings.
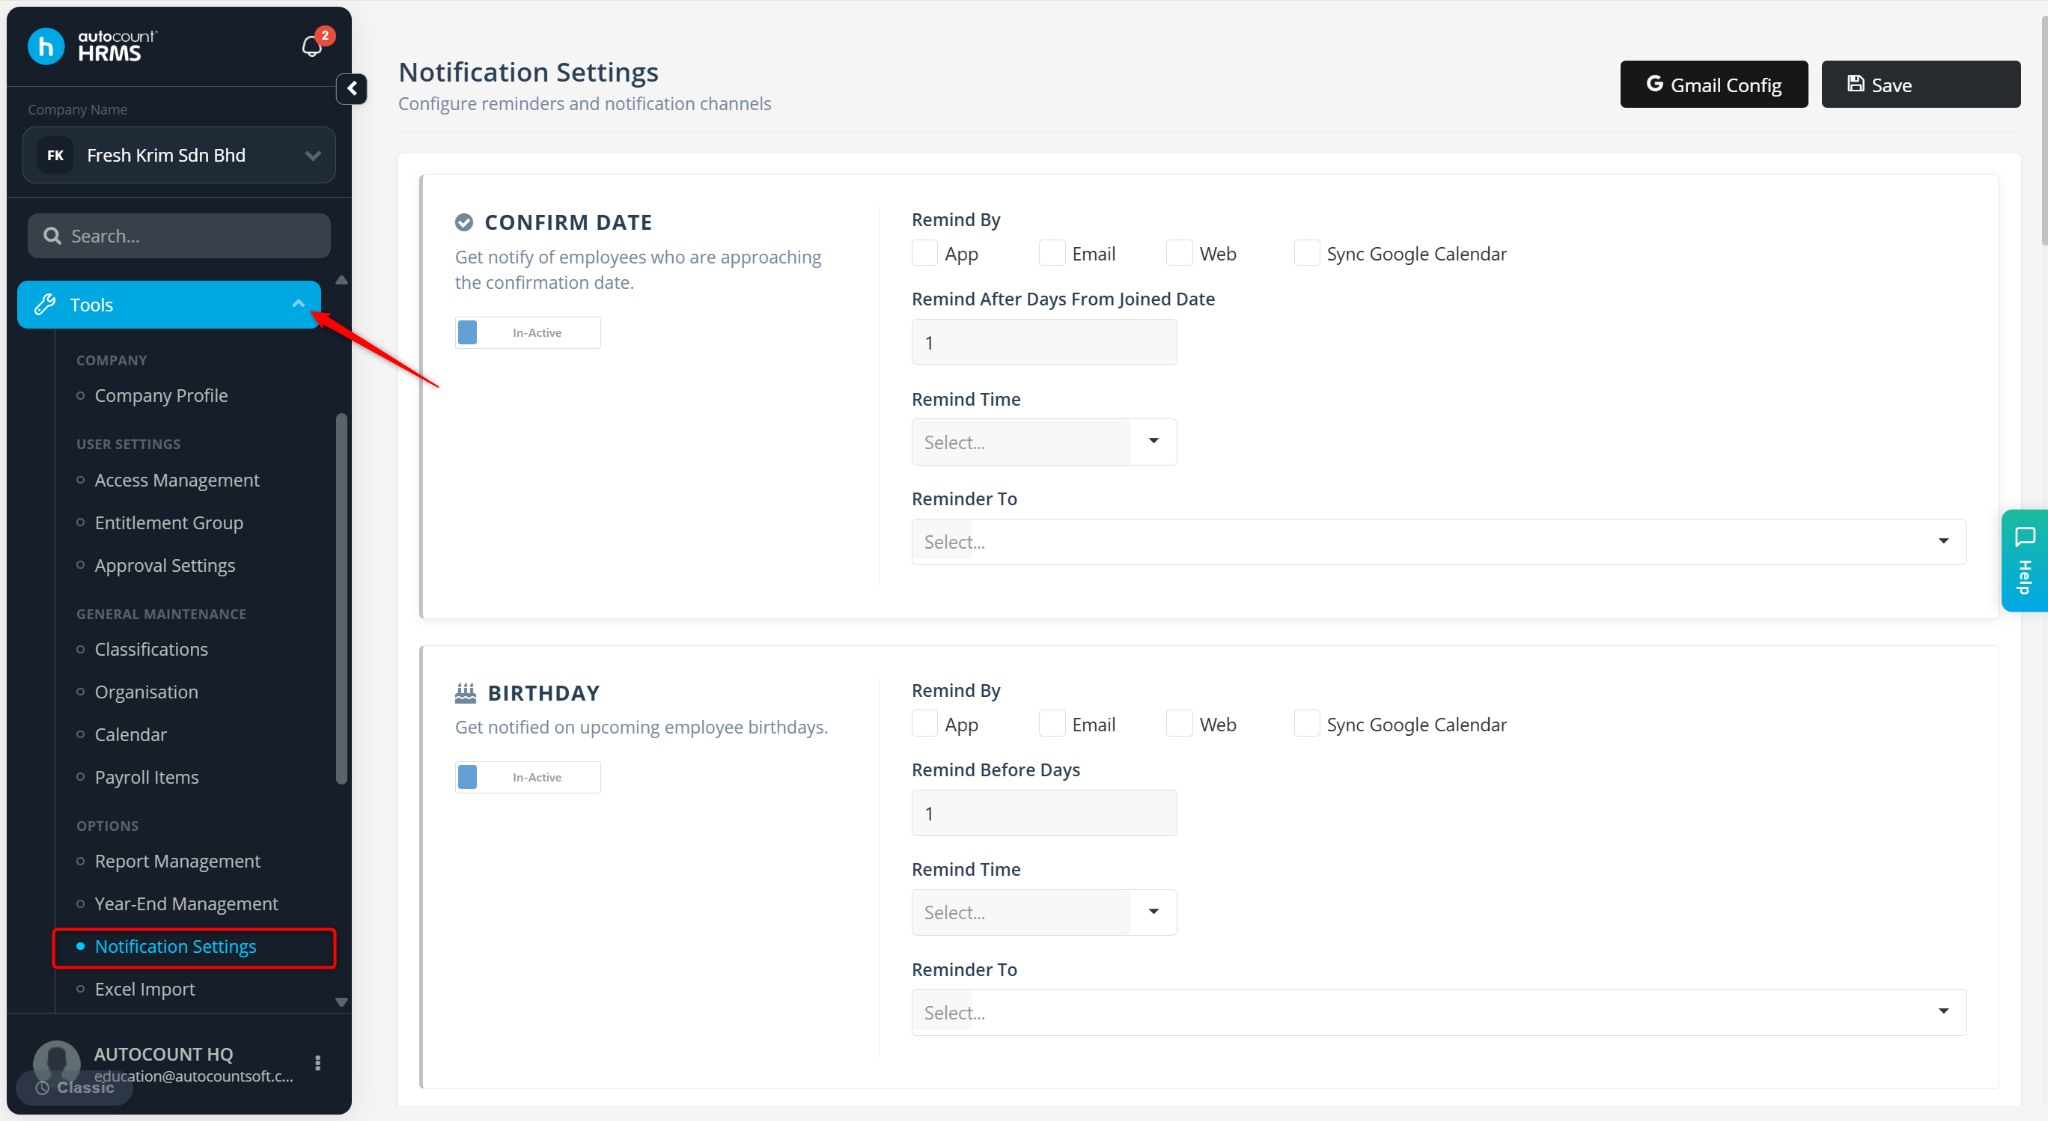
Locate the notification feature you wish to configure.
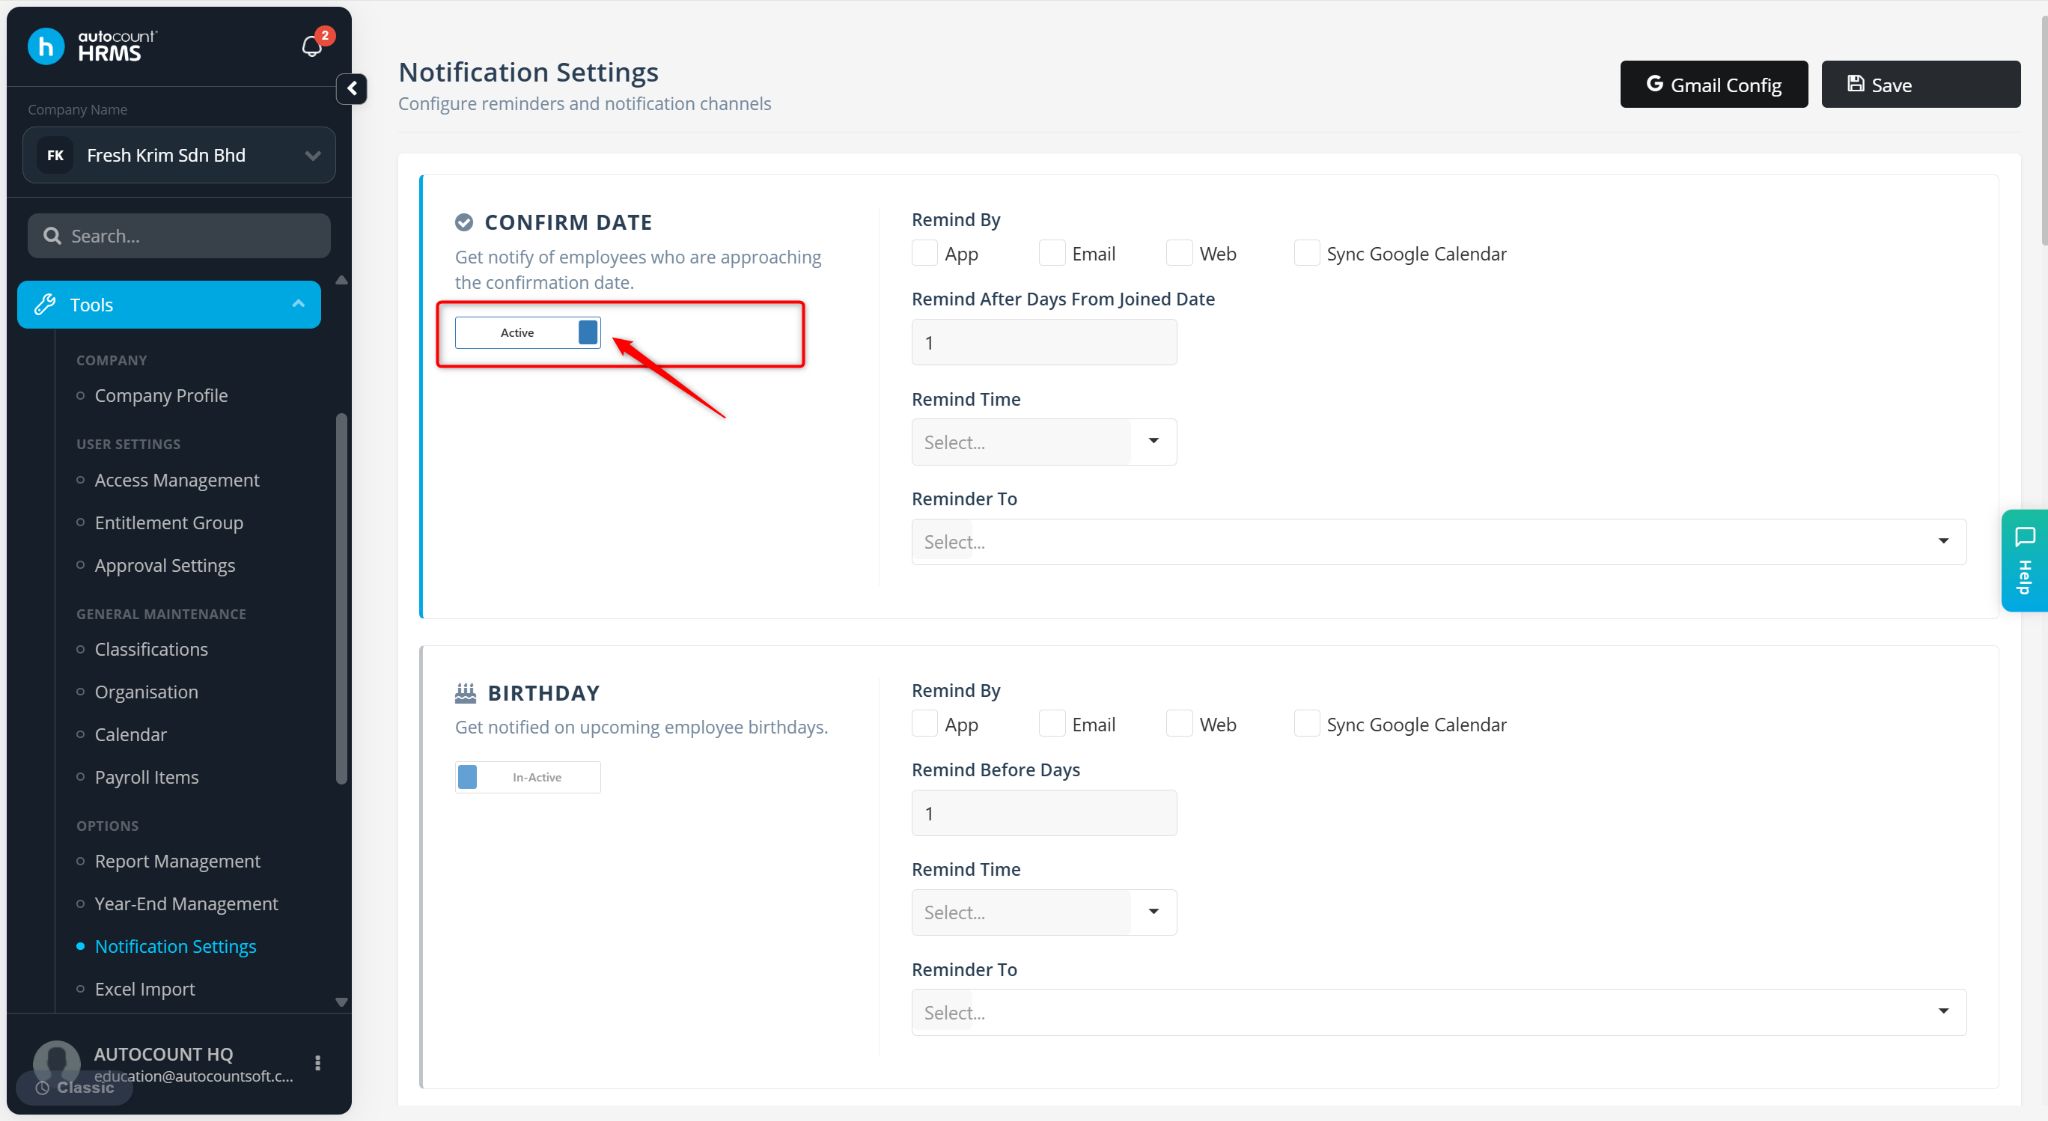
Toggle the notification status:
Active – Enable the notification.
Inactive – Disable the notification.
Configure the notification details based on the selected feature:
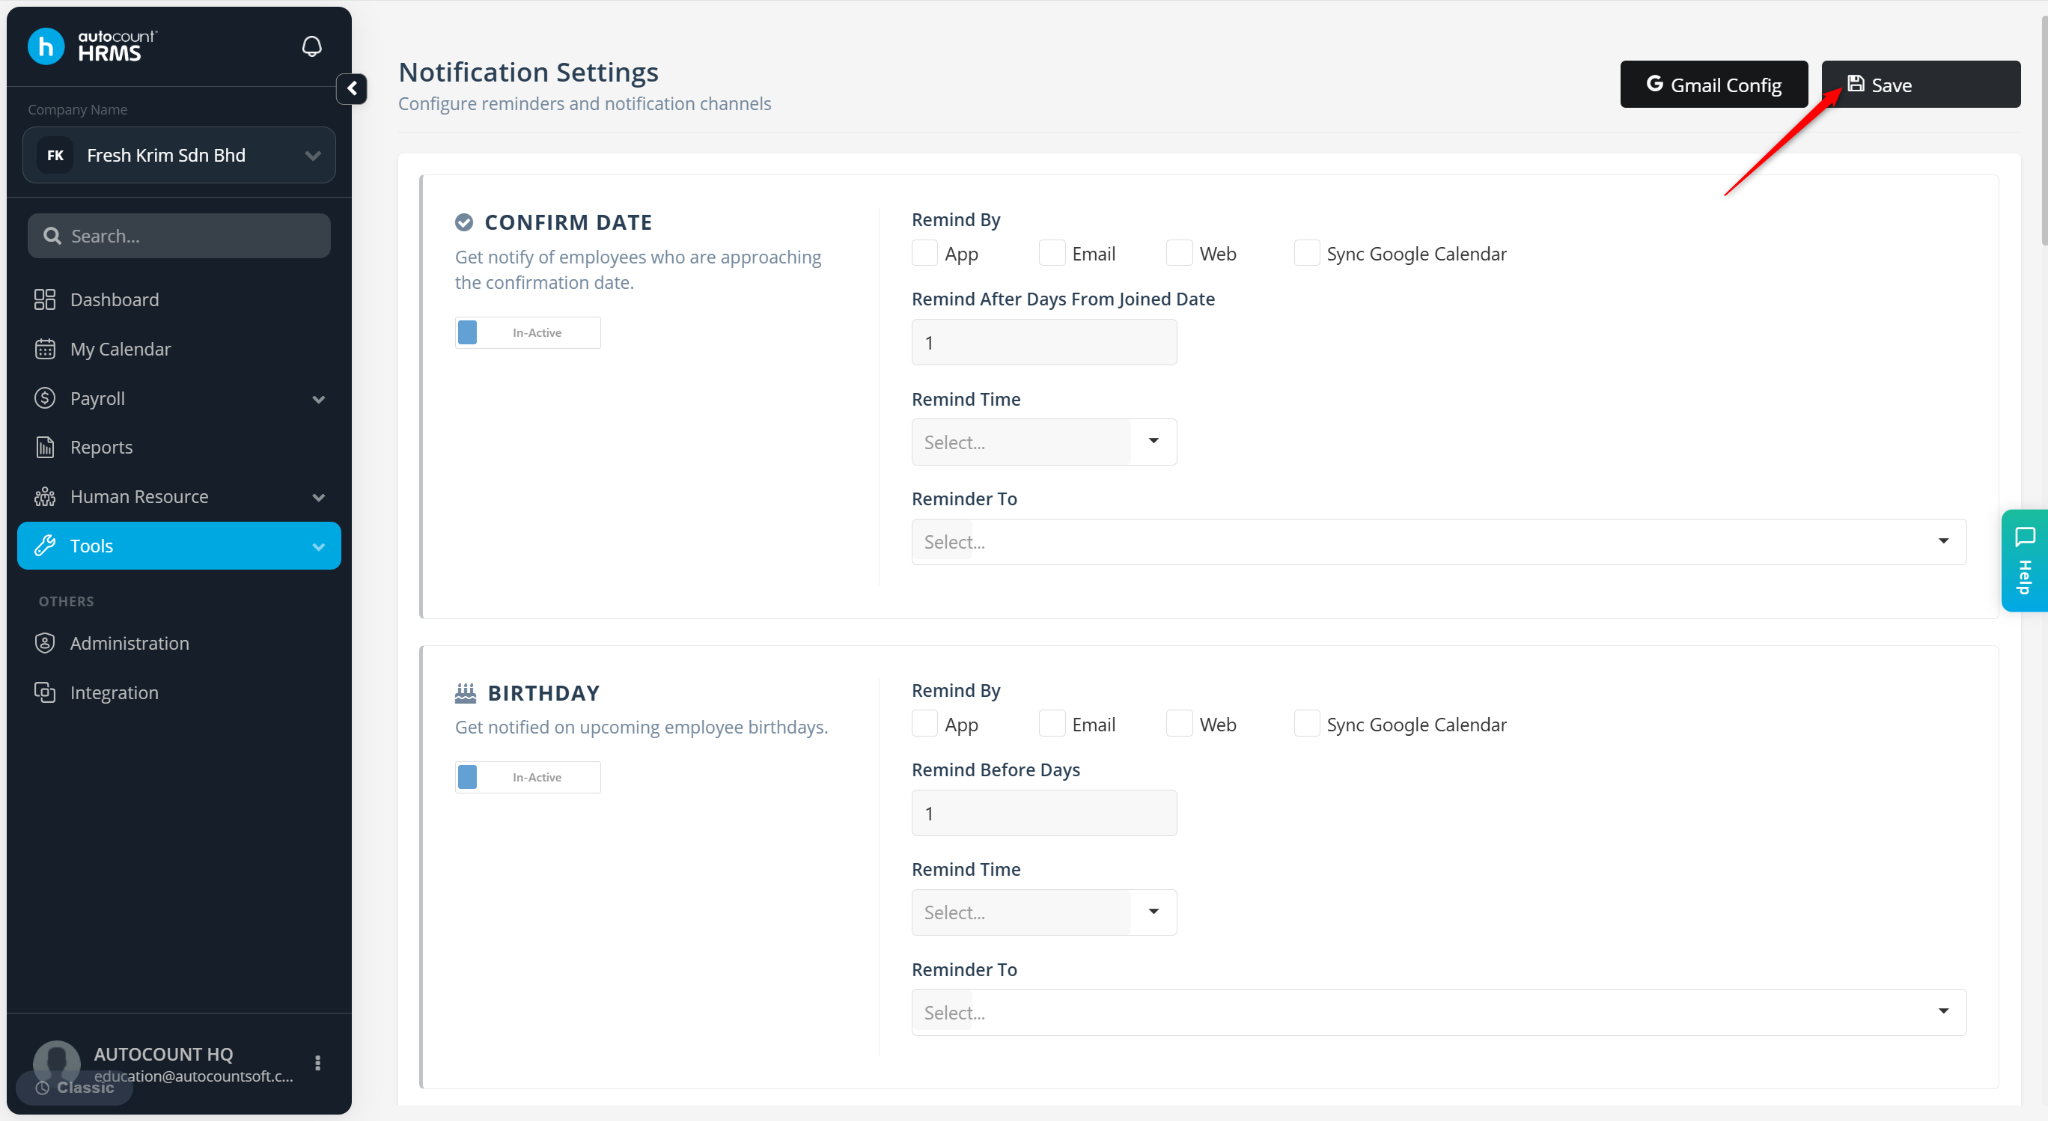
Confirm Date, Birthday, Work Permit Expiry, Leave Expiry, and Passport Expiry:
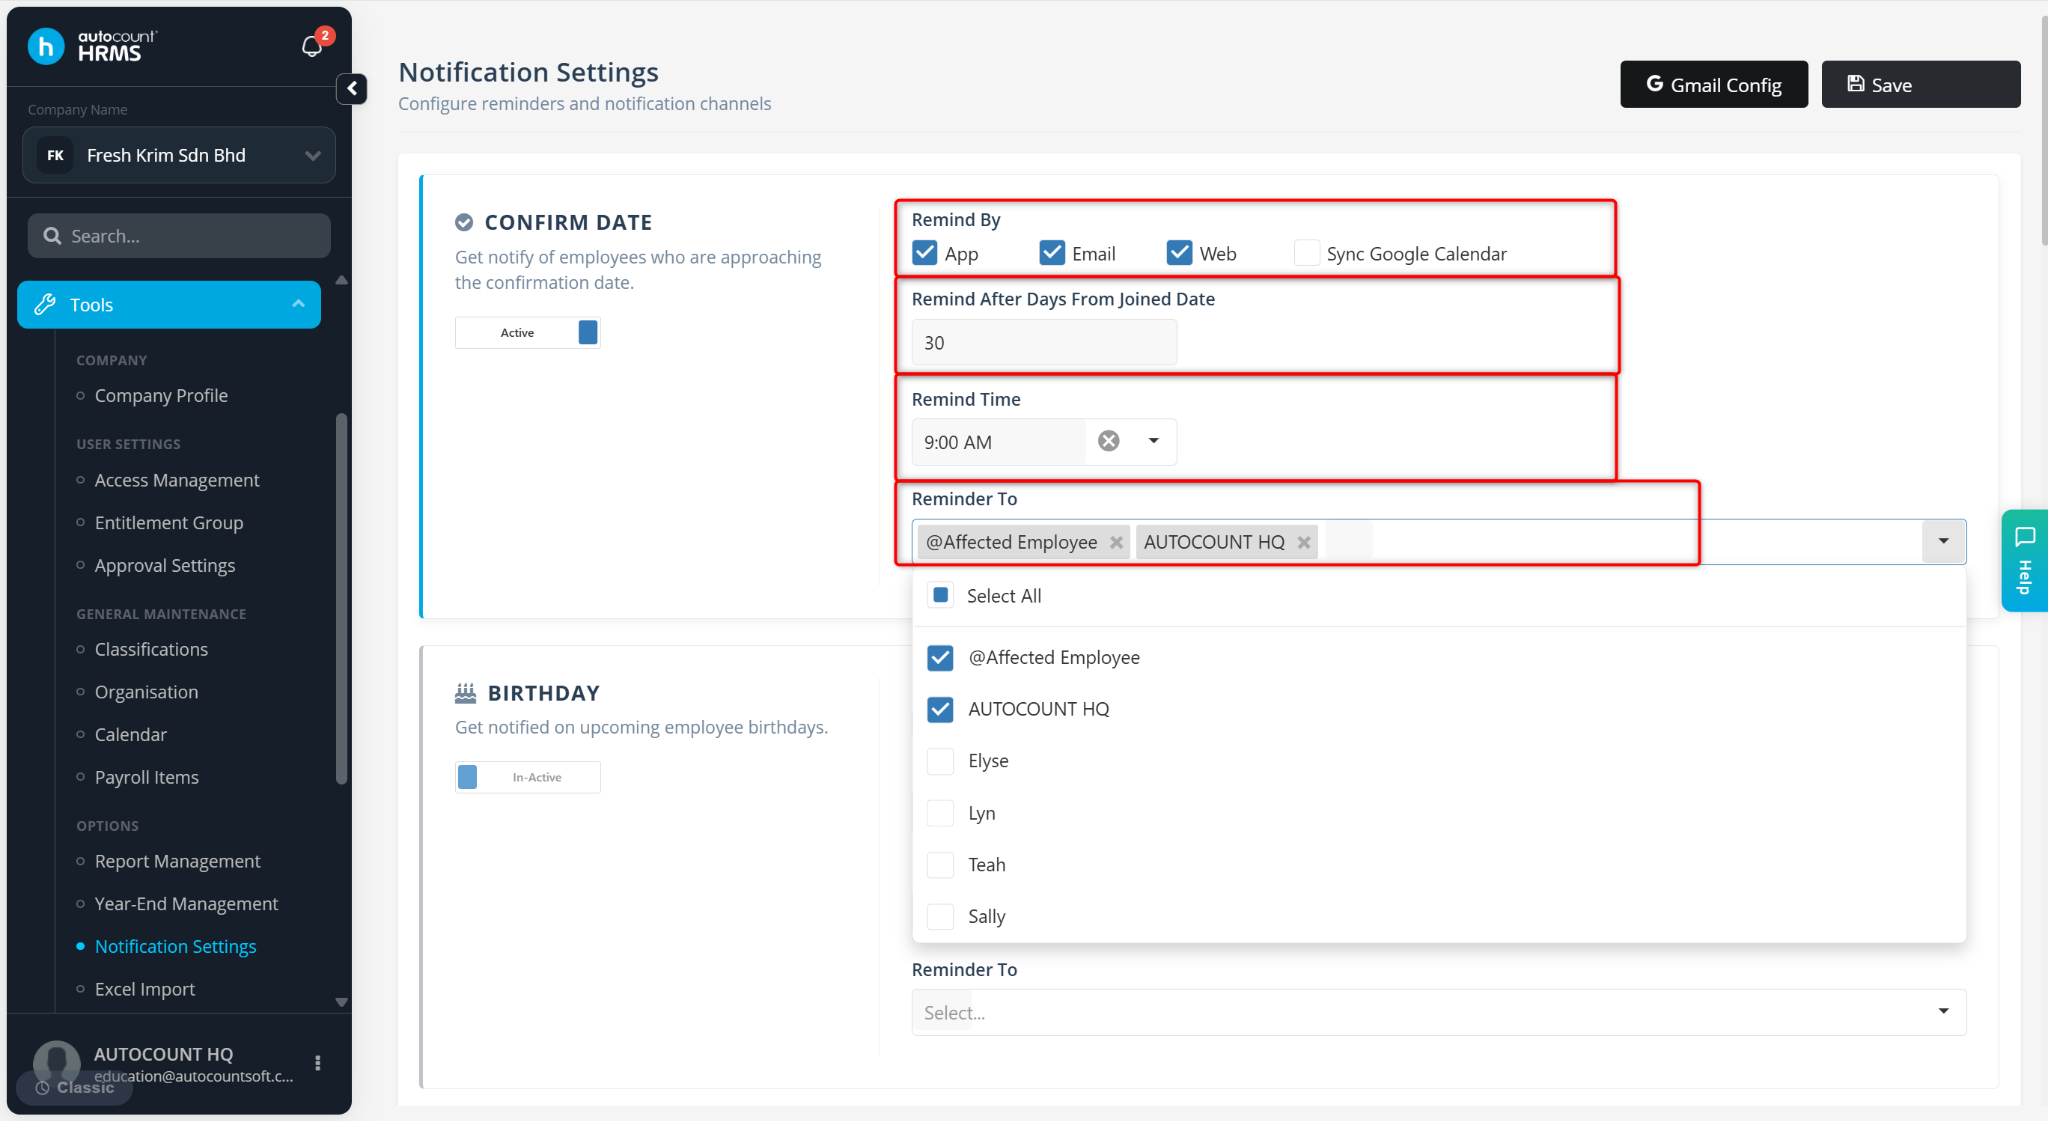
Remind By – Select to remind by App, Email and/or Web.
Sync Google Calendar – Enable to synchronize reminders with Google Calendar.
Remind Before/After Days – Define how many days before or after the event the reminder should be sent.
Remind Time – Set the time of day to receive the reminder.
Reminder To – Select the employee(s) who will receive the notification.
Example:
Remind After Days From Joined Date: 30 days
Remind Time: 9:00 am
Result: Employee(s) joined on 01/01/2025 will receive a notification on 31/01/2025 at 9:00 AM.
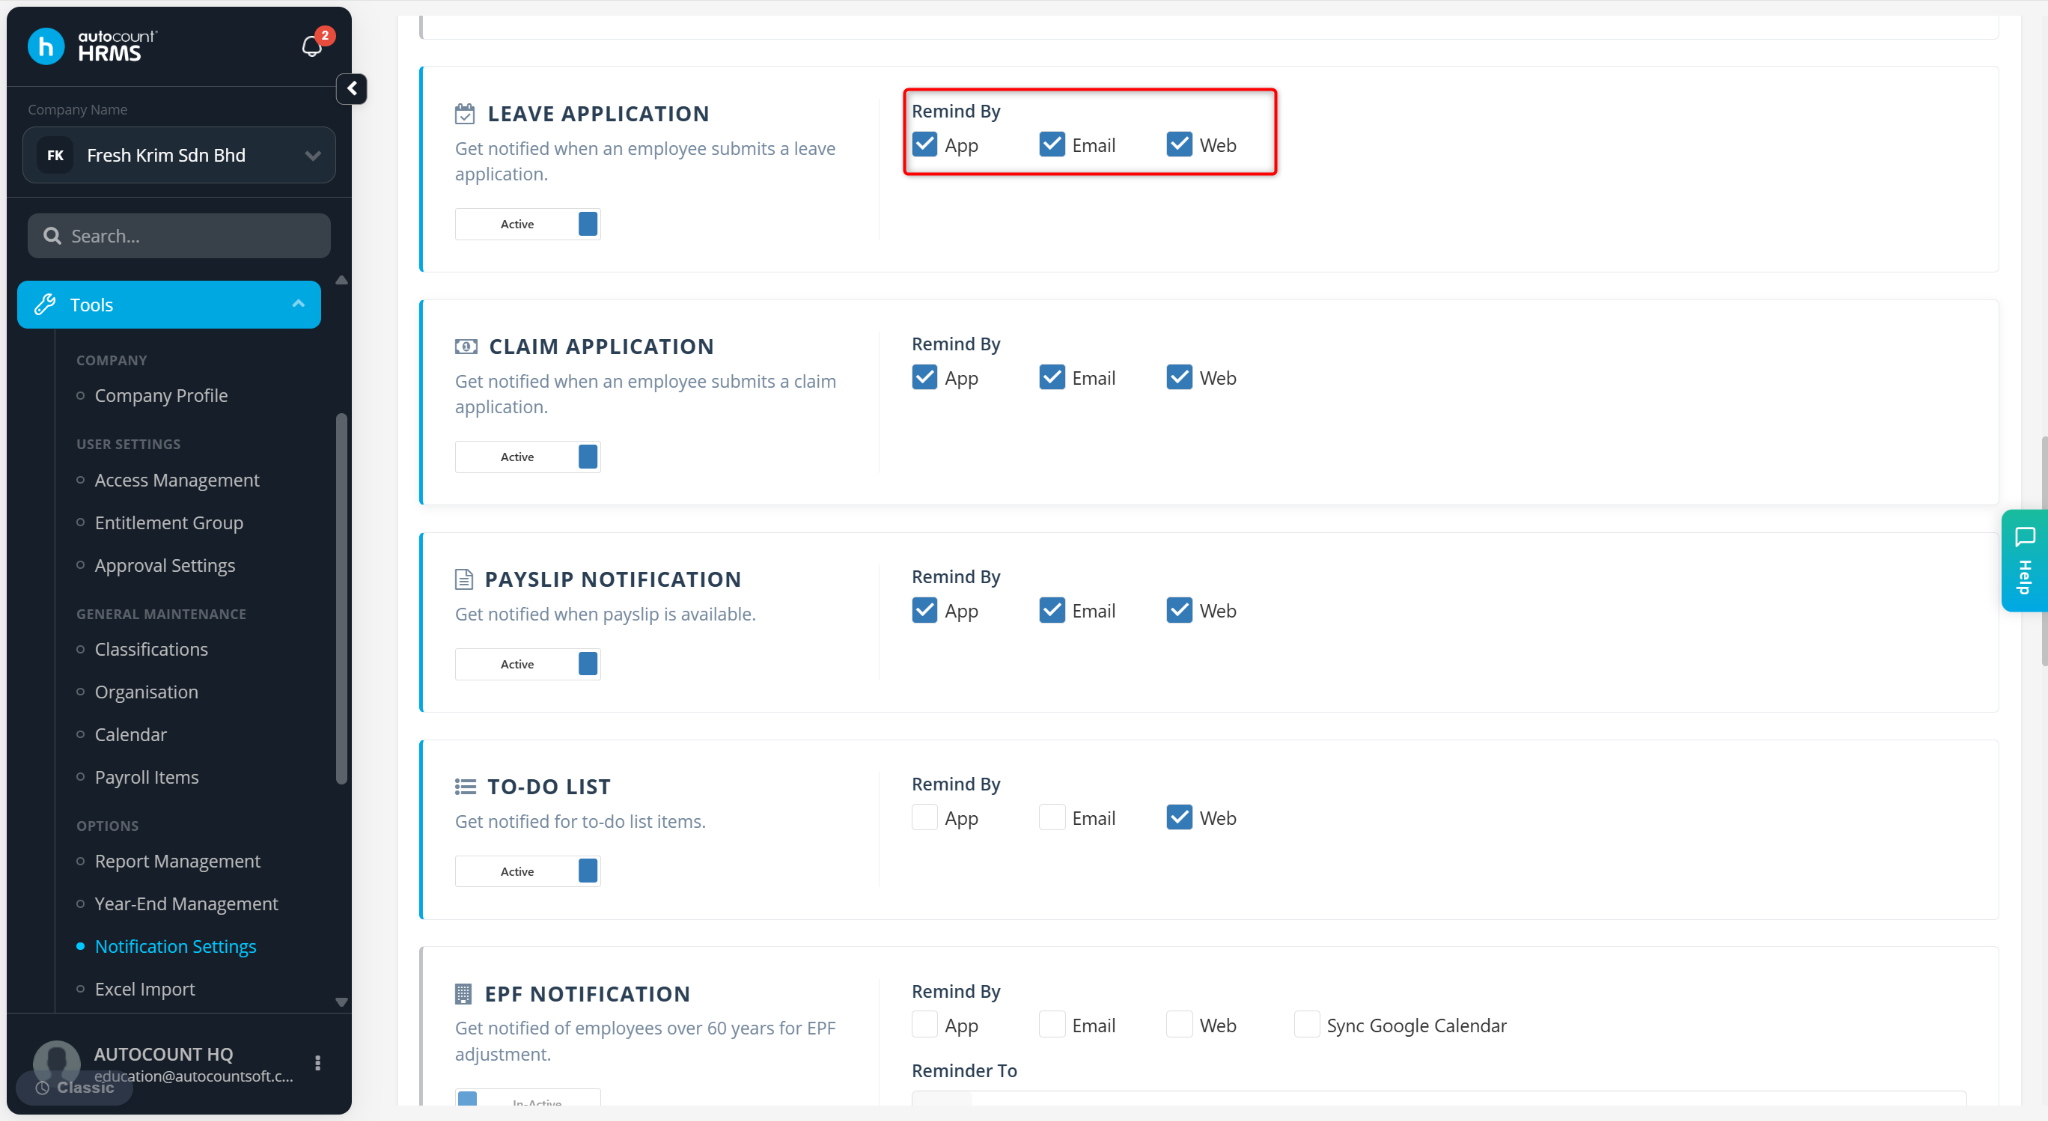
Leave Application, Claim Application, Payslip Notification, To-Do List, and Attendance Request:
Remind By – Select to remind by App, Email and/or Web.
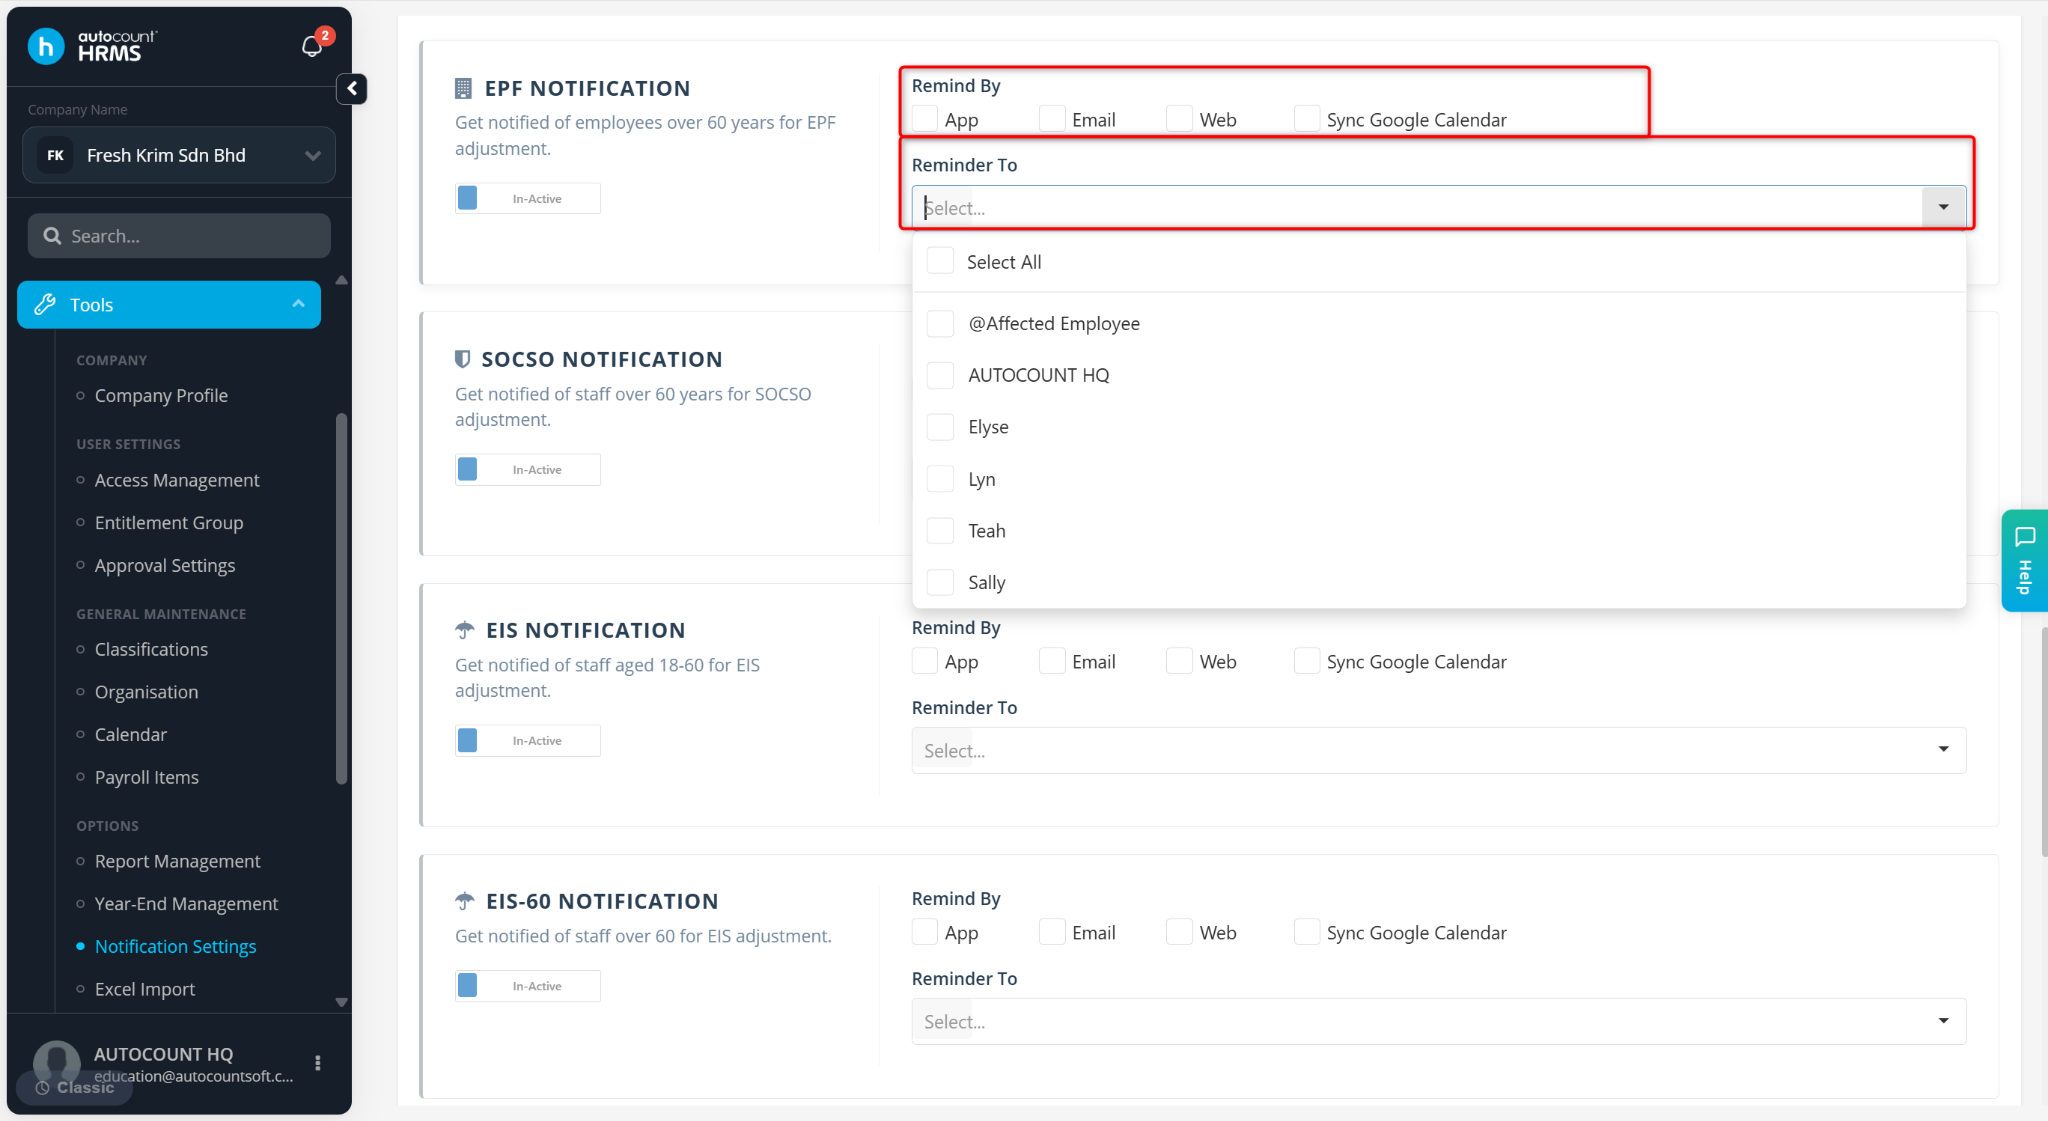
EPF, SOCSO, EIS, and EIS-60 Notifications:
Remind By – Select to remind by App, Email and/or Web.
Reminder To – Select the employee(s) who will receive the notification.
@Affected Employee – Notifies only the affected staff.
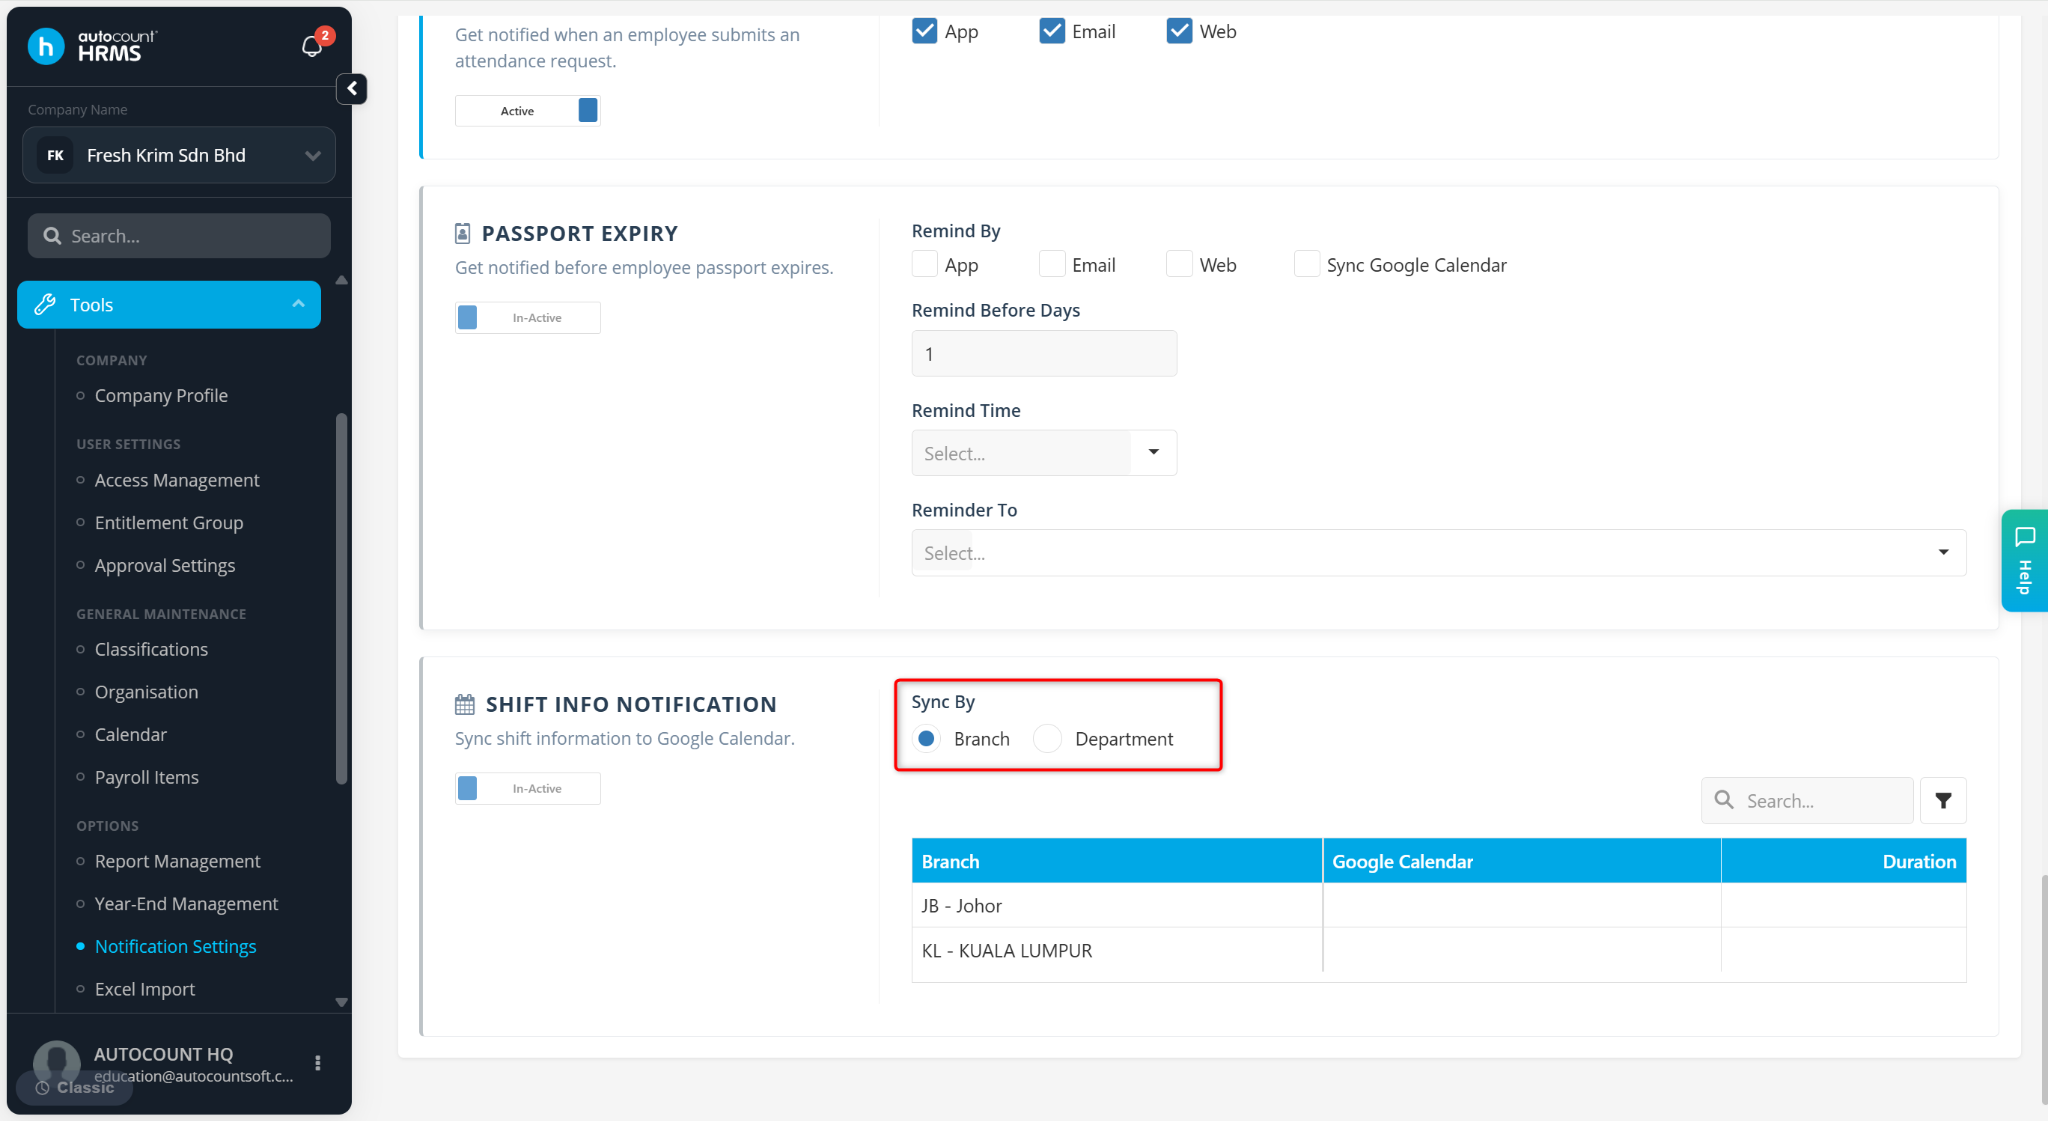
Shift Info Notification
Sync By – Select to synchronise shift by Branch or Department.
Click Save.
Steps to Configure Gmail:
At the Notification Settings page, click Gmail Config.
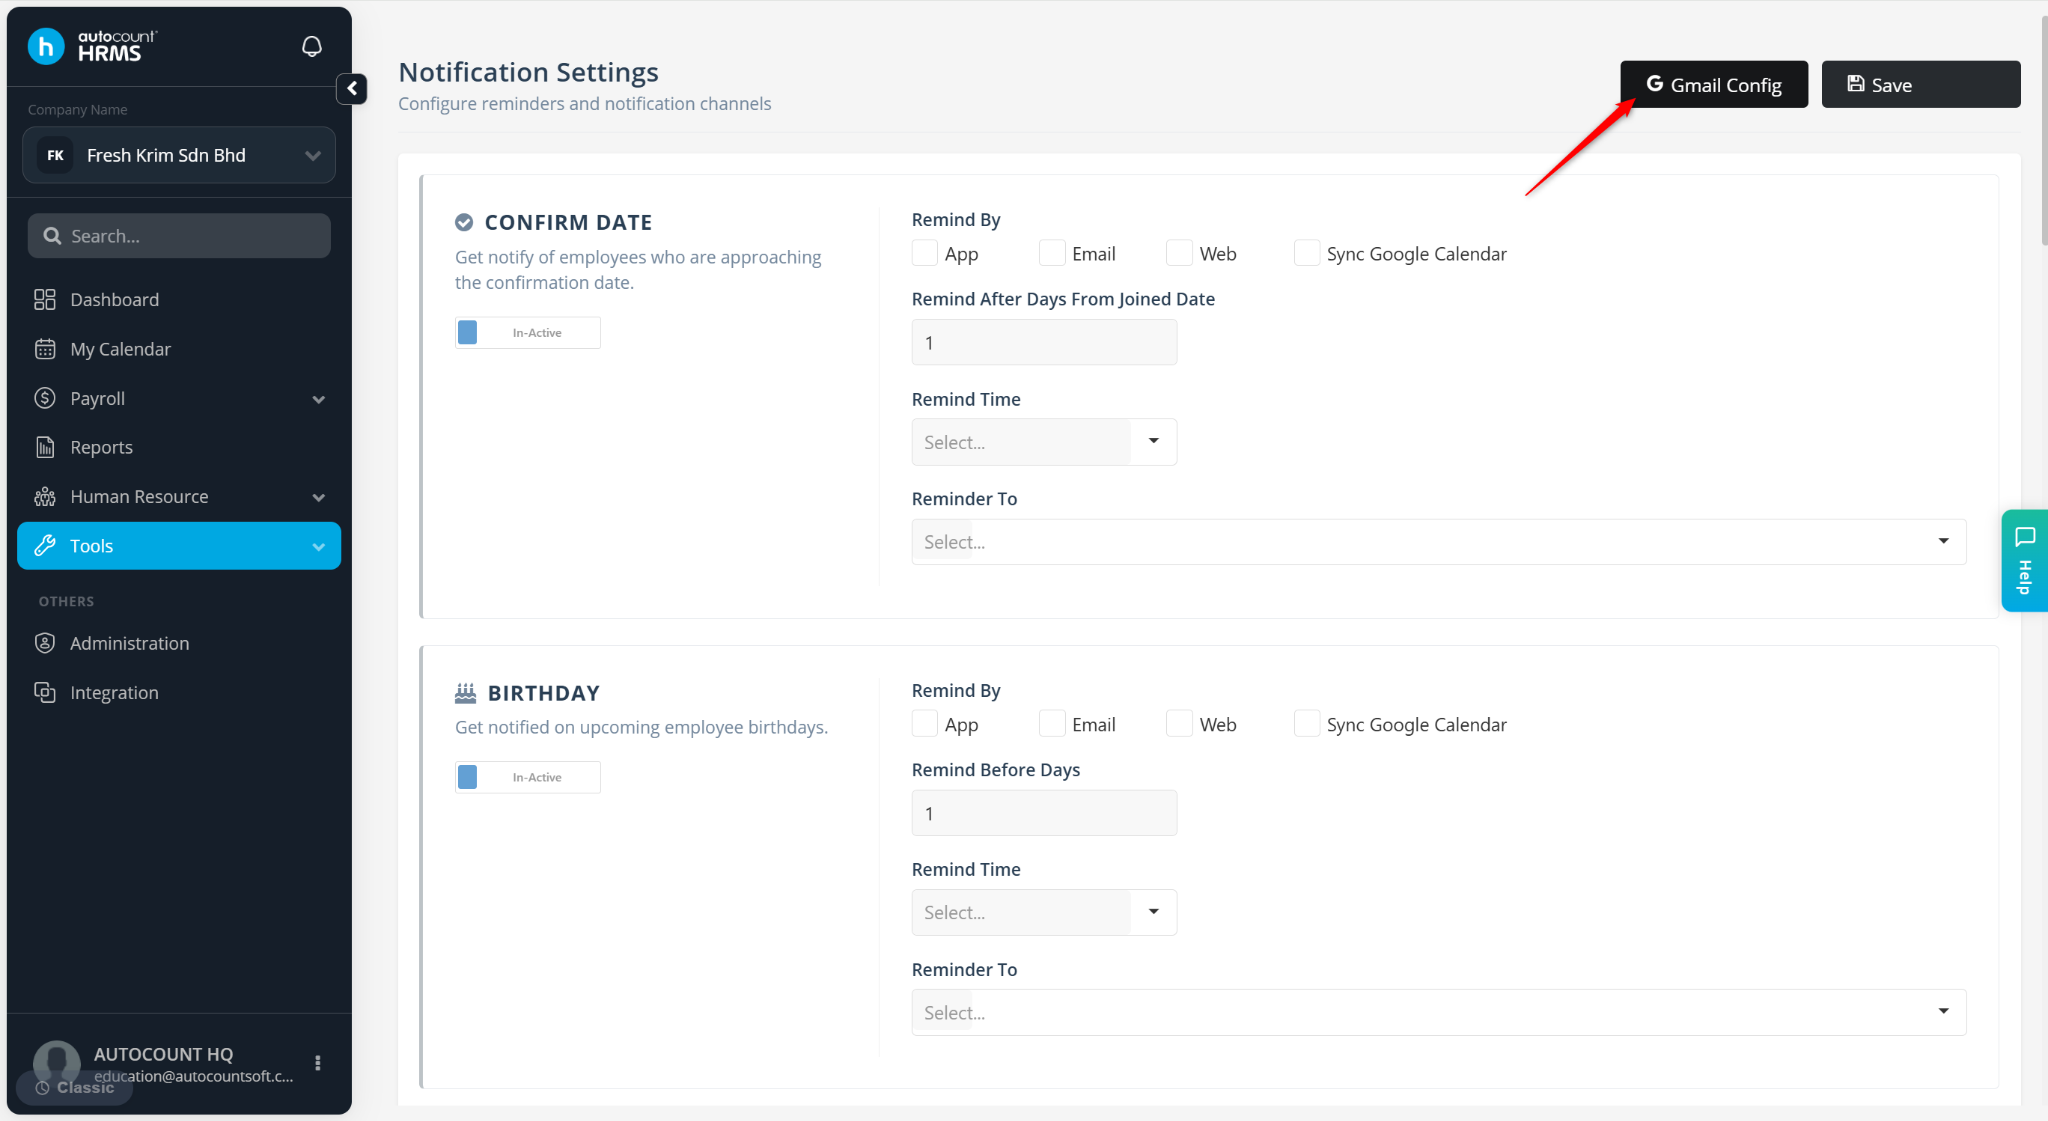
Select the relevant Notification and click Authorise.
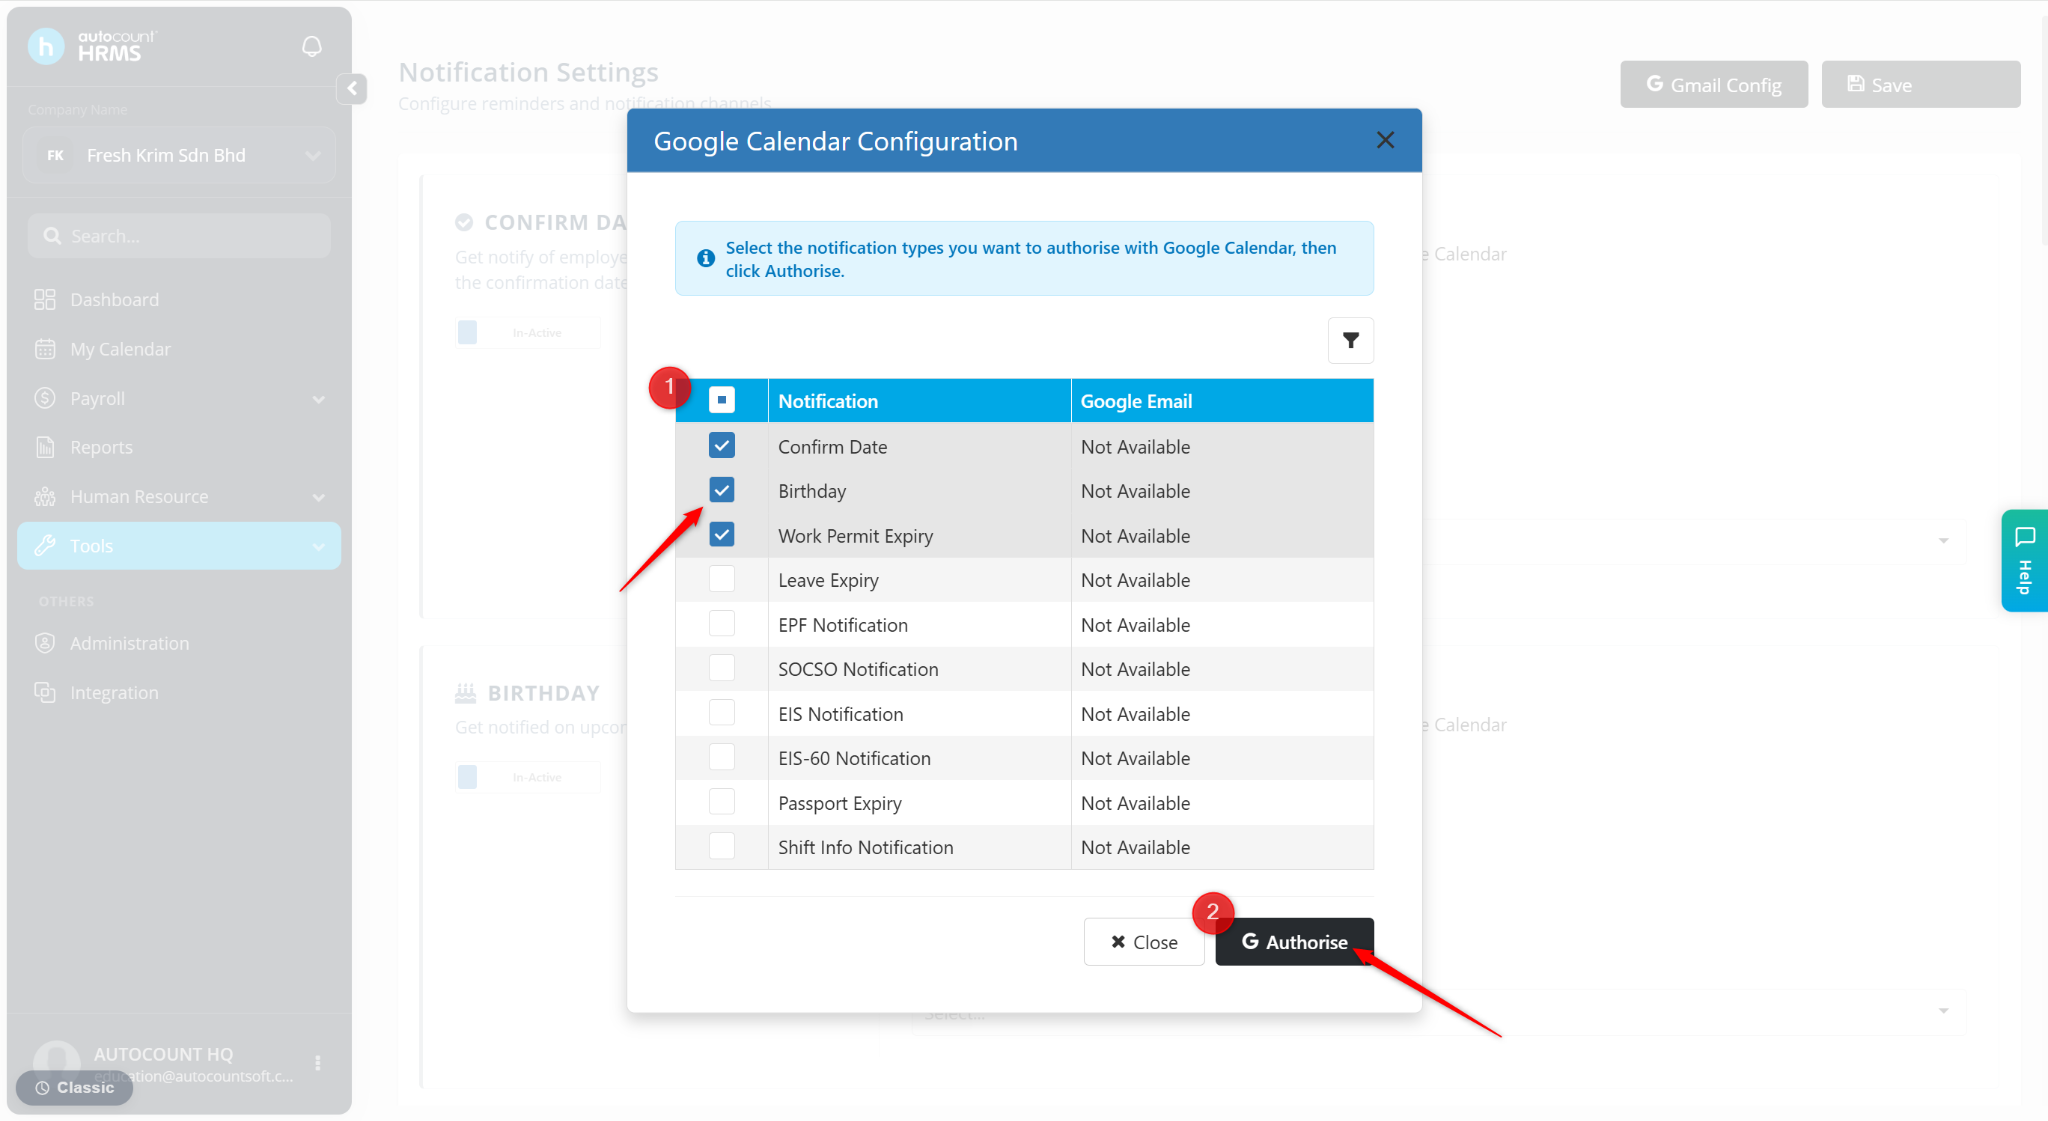
Once authorised, the selected notifications will be sent automatically through the configured Gmail account.
