To comply with Malaysia's e-Invoicing requirements, subscribers are required to update their Billing Party information with the necessary details, such as the TIN Number, Business Registration Number, and Classification.
Once the Billing Party information has been updated and assigned to a subscription, future invoices will be submitted to the MYInvois Portal for validation. Upon successful validation, the e-Invoice will be sent to the designated contact email and can also be downloaded from the Subscription Portal.
Steps to Update Billing Party information for e-Invoice:
A) For Existing Subscriptions:
Step 1: Update Billing Party Information
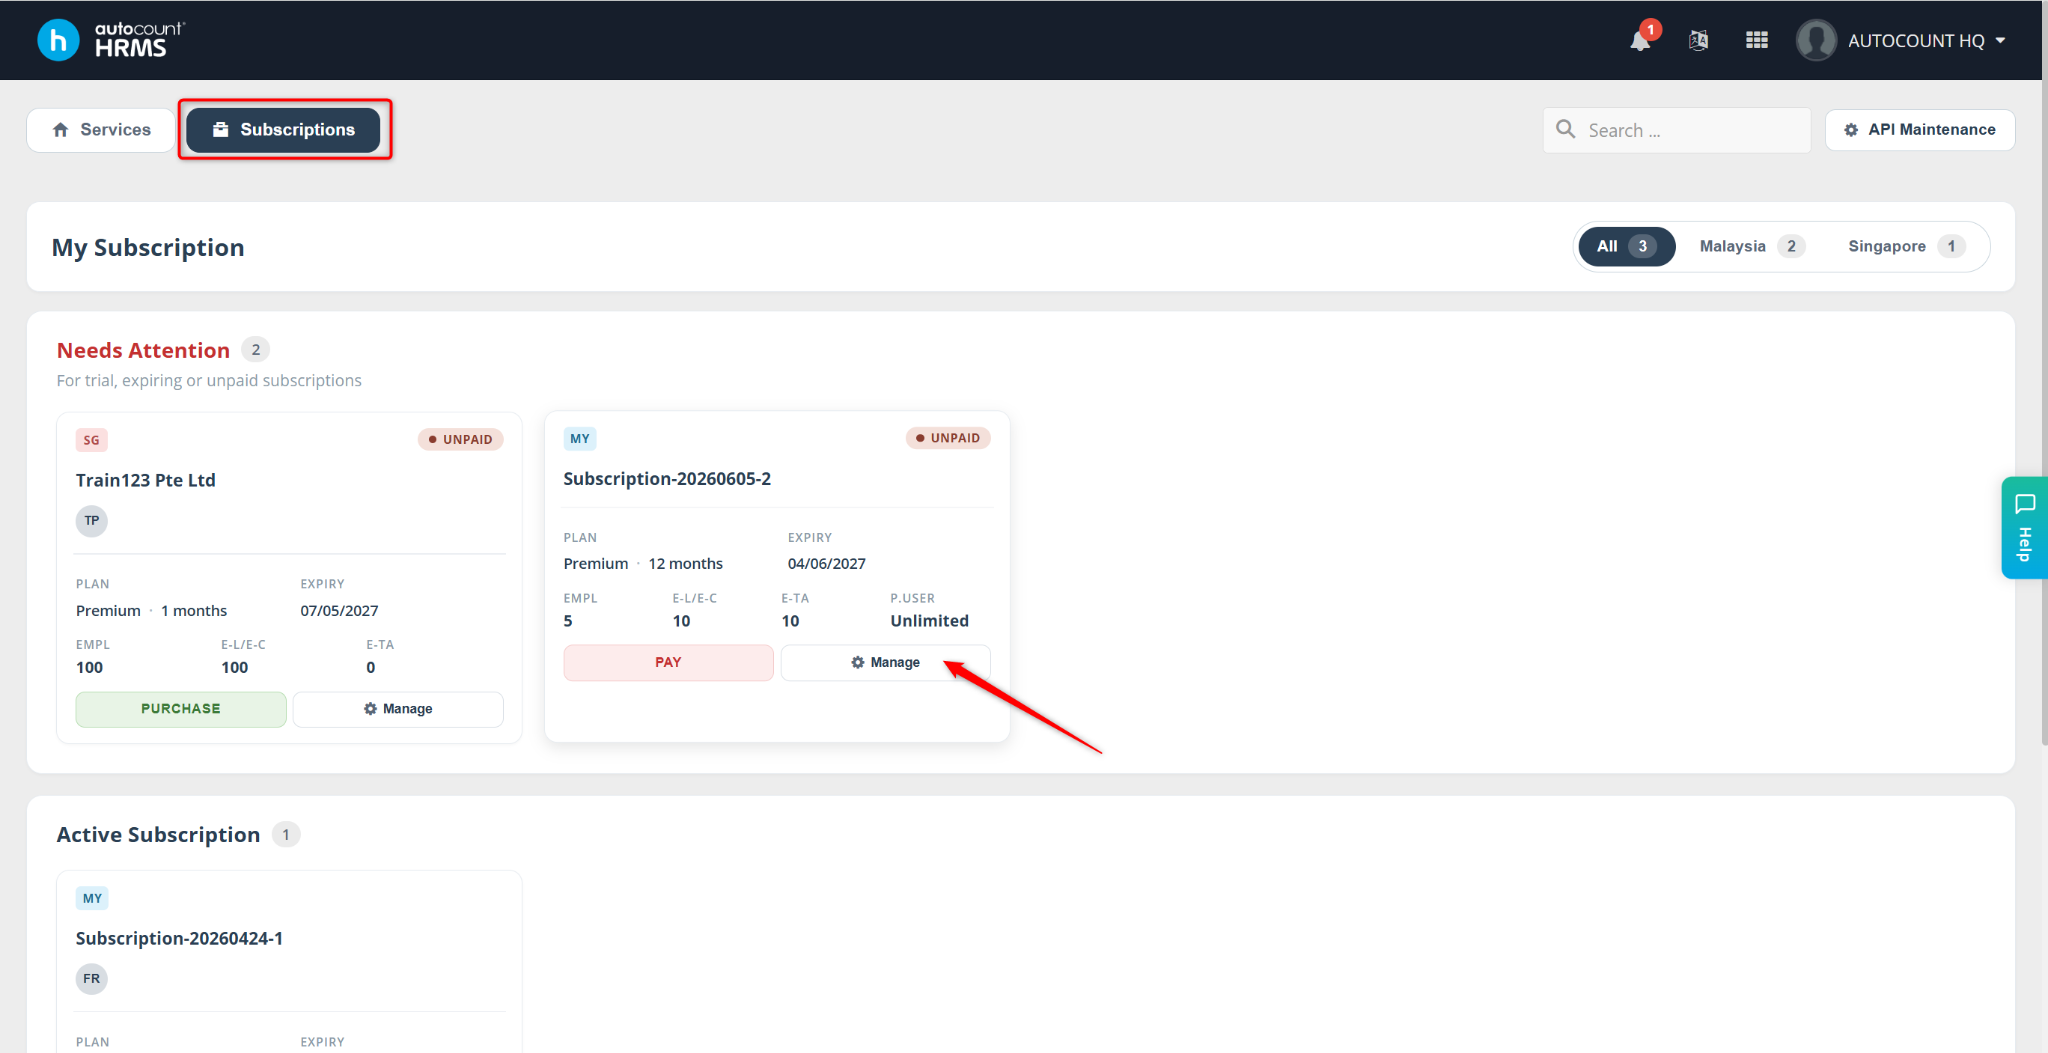
Go to the Subscriptions page.
Click the grid icon and select Subscription Portal.

Go to Billing Party.
Locate the billing party and click Edit.

Enter or update all required information.
Click Validate TIN to verify that the TIN is recognized by the MYInvois Portal, if required.
Click Save.
Note: Ensure all mandatory e-Invoice fields are accurate to avoid validation failures.

Step 2: Assign the Billing Party to a Subscription
You may skip this step if the billing party has already been assigned to the subscription.
Go to the Subscriptions page.
Locate the subscription and click Manage.
Select the appropriate Billing Party.
Click Save.
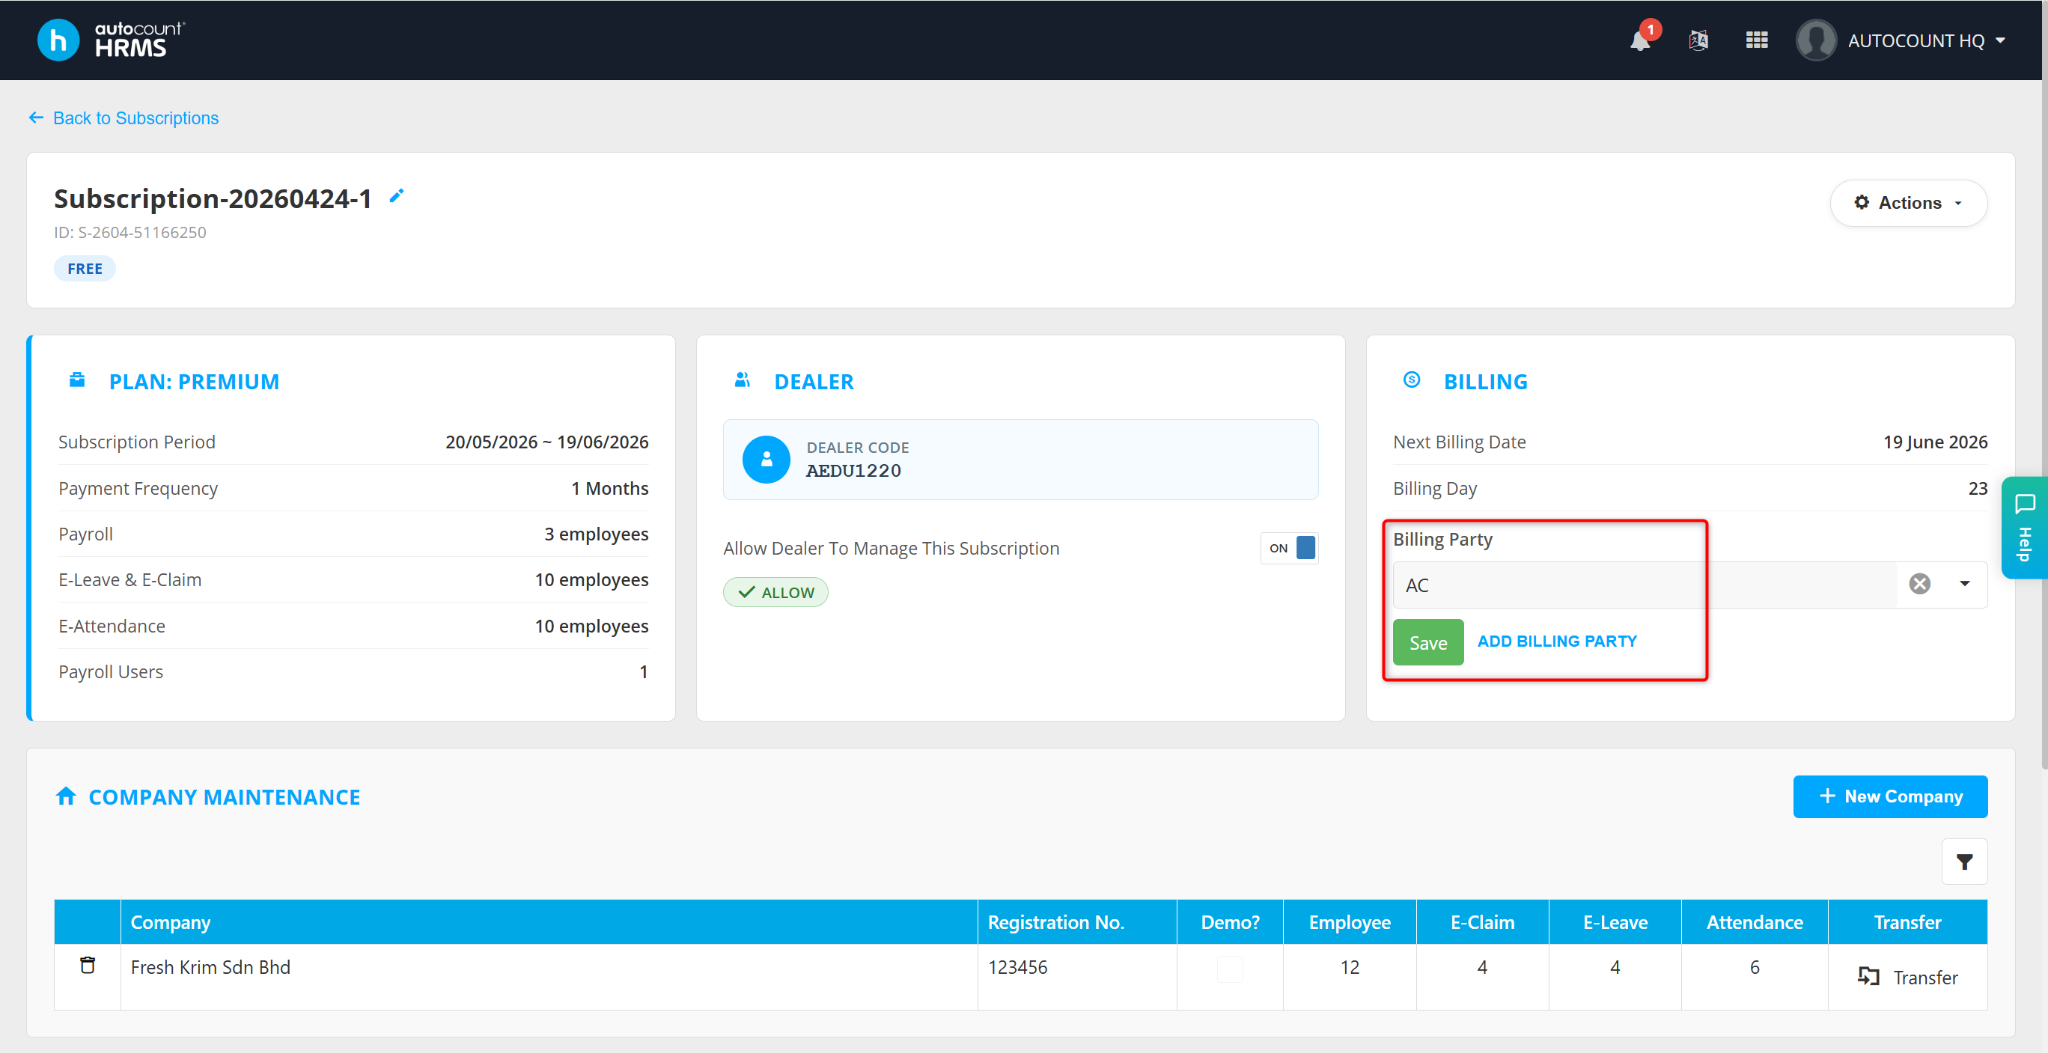
Step 3: Create a New Billing Party (Optional)
Perform this step only if a billing party has not been created.
Go to Billing Party in the Subscription Portal.
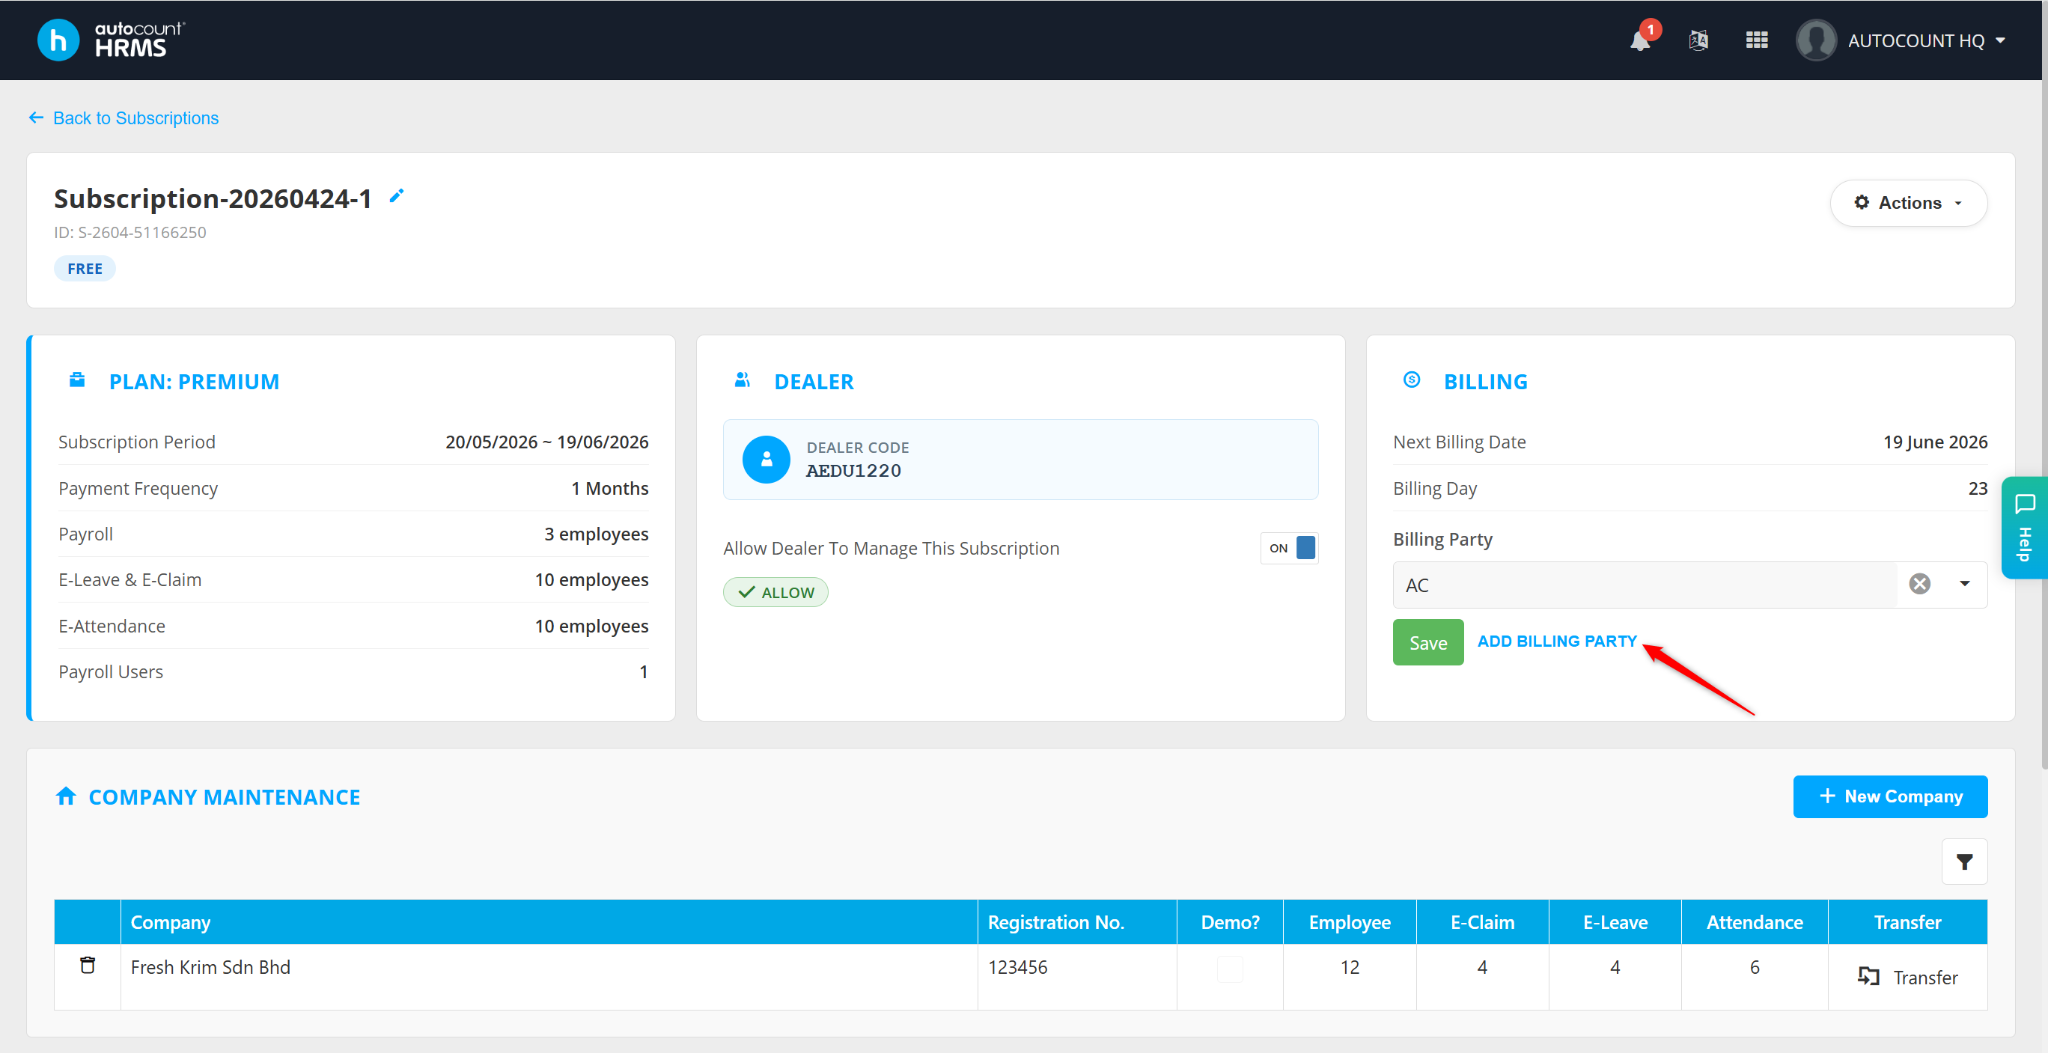
Click Add Billing Party.
Complete all mandatory fields.
Click Save.
The new billing party can then be assigned to the subscription.

Once the billing party information is updated and assigned:
Future invoices will be submitted to the MYInvois Portal for validation.
The validated e-Invoice will be sent to the contact email specified in the billing party information.
Users can download validated e-Invoices from the Subscription Portal.
B) For New Subscriptions
When creating a new subscription, users are required to create and assign a billing party before proceeding with payment.
Steps to Create a Billing Party During Subscription Setup
Select the subscription plan and configure the required headcount.
Click Next.
On the Get Started page, click Add Billing Party.

Enter the required billing party information.
Ensure Require E-Invoice is enabled.
Click Save.

When prompted, click Yes to perform TIN Validation.
Validate the TIN to ensure it is recognized by the MYInvois Portal and to avoid e-Invoice submission issues.
Once the billing party has been validated, proceed with the payment process.
After payment is completed:
The invoice will be submitted to the MYInvois Portal for validation.
The validated e-Invoice will be sent to the designated billing party contact email.
Users can also download the validated e-Invoice from the Subscription Portal.
